I recently attended a workshop on Free Form Symmetry
with my quilt guild friends. The workshop included
planning and executing original art quilt designs.

We drew sketches on a folded sheet of paper and then cut our designs to expose the symmetrical design.

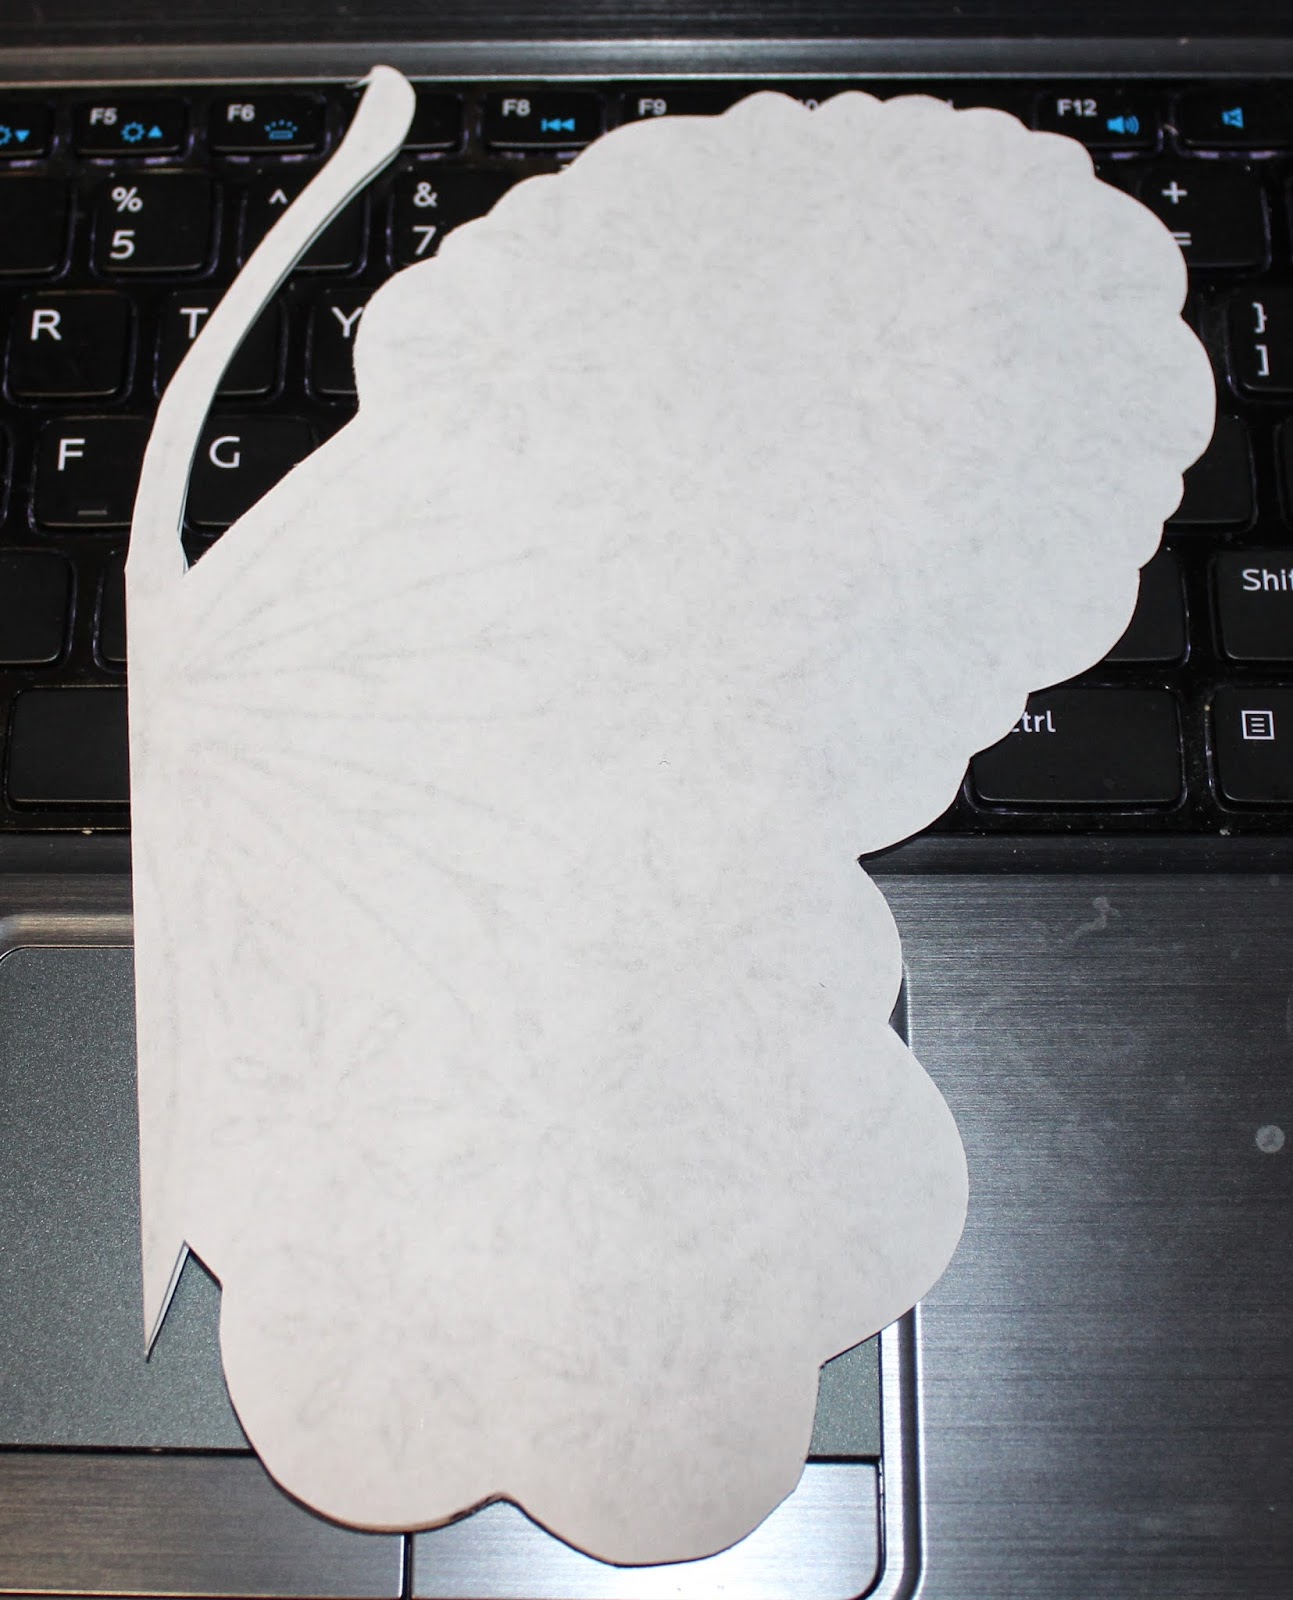
 I also drew and cut out a butterfly.

 A template was made and multiple copies were traced onto fusible web. (I used Pellon 805 Wonder-Under.)
When I got home, I used my acquired skills to make a larger wall hanging with a new butterfly I designed.
 I started with the outline of a butterfly that I found --
 --and then added lots of squiggles inside the wings. I made multiple copies to check on size and determine if this arrangement would work for me. So far, so good!
 I tried something new. I made a copy of the butterfly design in my
printer directly onto a piece of fusible web which was cut 8.5"x11". The
first printer didn't do well at all. The second printer did better. I
made two copies.
I tried something new. I made a copy of the butterfly design in my
printer directly onto a piece of fusible web which was cut 8.5"x11". The
first printer didn't do well at all. The second printer did better. I
made two copies.


My first project at the workshop was a little 15" square quilt. The little design in the lower left corner is the template. The other six are designs cut from white fabric and stitched to black.
When I got home, I used my acquired skills to make a larger wall hanging with a new butterfly I designed.
I pressed the fusible web copy onto pink fabric.
I pressed another plain piece of fusible web onto a second piece of fabric.
I pinned the two pieces together using lots of tiny applique pins and started cutting out all the designs.
I cut around the outside of the butterfly first.
Then very carefully, I started cutting around the designs on the inside of the butterfly.
After about 30 minutes, I finished cutting the first two butterflies.
I repeated the process with two more pieces of fabric and the other fusible web butterfly copy.

Very carefully I removed the paper backing from the fusible web.
I repeated the process with two more pieces of fabric and the other fusible web butterfly copy.
Very carefully I removed the paper backing from the fusible web.
I cut my fabric 24" square and then marked where I'm going to place the
butterflies by pressing the fabric into fourths and then again in fourths diagonally.
I placed the butterflies where their centers lined up on the first folds and the side of the wings lined up with the diagonal fold lines.
I wanted the wings to touch each other.
My final arrangement.

I carefully pressed everything in place
To get ready for appliqueing, I cut pieces of freezer paper to stabilize the back of my fabric.
I love freezer paper! Pressing it makes it stay in place beautifully!
 |
| Add caption |
Now to the machine. I chose matching pink rayon embroidery thread because it looks very well with my pink batik butterflies.
I slowly stitched around every cut edge using a narrow zig-zag stitch.
I appliqued one butterfly.
A close up of the stitching.
Hope to finish the quilt very soon.
I love this! I can't wait to see it when it's finished!
ReplyDeleteThat is so cool!
ReplyDeleteCan't wait to show it to you.
Delete