This is the story of my quilt thus far.
 |
Back
on January 27, 2014 I found this pretty fabric on clearance AND on sale for 30% off at my local
quilt shop and at such a bargain, I bought three yards. A new quilt
project began!
 | |
|
 |
| I finished paper piecing the log cabin diamonds around Feb. 26. I took the next week and a half off for my quilt guild's annual quilt show. I'll have to post more about that later. As you can see from the above picture, I'm trying to decide on the placement of the log cabin diamonds. I made 40 of these jewels!! |

Anyway, around Feb. 24th, I auditioned various fabrics to be added around the star. This is the fabric I selected to sew around the star. I had it in a box that was earmarked for another future project. I have 2 yards of this fabric.
I searched Pinterest to get ideas as to how to put my quilt together. I found a beautiful quilt that instantly grabbed my attention. You can see it here http://quiltskingston.org/khq/
Once I had a designs to work from and the star and squares sewn together, I began cutting and appliqueing. My work is all done by machine.

Although I didn't work on this project for over a week, as of March 18th, this is the progress on my quilt. What do you think?
Now I'm working on cutting more applique pieces to go outside the black border. There's more to come.
April 6, 2014
I'm playing catch up with my blog from my last post on March 20th.
 |
| Over the past few weeks I've been machine appliqueing another set of flowers around the quilt. Even with extra fabric added to my quilt in my sewing machine, it didn't seem as hard to applique this time as compared to the first round. |

I want to share a couple of ideas that I used to make the appliqueing process work for me. I made a color chart with swatches of fabrics that I was using in my appliqueing to take to the store to match the threads to the fabrics. This chart proved to be very valuable not only in selecting what threads to buy but as time passed I could refer back to the chart to remember what thread # went with what I was about to applique.
 |
| I used several box lids to hold the flower sections, leaves and stems. I adhered fusible web to fabric and cut out each piece by hand and stored the pieces in these boxes until I placed them on the quilt top. Of course this is all that's left after the design in on the quilt. |
 |
And I found this fabric on line and ordered a yard of it from
which to cut butterflies to add to the applique sections. Can't wait to get started.
|
Another Border
As I was thinking about the border, I had to realize that I don't have enough of the background fabric from which to make a border.
 |
| I went back to my local quilt shop and found what I thought was the same fabric. |
 | ||
| It is the same fabric print, just a different lighter shade. The little triangle piece is a piece from the original fabric. Now I need to incorporate the two or figure out something else to use. I like the second fabric and hope I can make it look like it was meant to be used all along. |
 | |||
| With the "extra" log cabin diamonds I have, I tried to visualize different options for a border. |
 |
| I thought maybe I should flip the log cabin blocks? No, I don't really like the "blobs" in the corners. |
 | |
 | ||
|
 |
| I made a mistake. If I added the second black and second brown, the block would be too big. I went back to the drawing board. I added the extra two pieces and then reduced the entire block to fit the 13.1" space that I had figured would be needed. |
 |
| My revised pattern is complete so I started sewing new border blocks. |

 | |
So far, so good. More blocks to come. Stay tuned!April 14, 2014 |
| During the past week and a half I was busy making diamond log cabins for the border. I also choose yet more fabric for the outer border and I did some "re-sewing" around the center star. That "re-sewing" turned out really well and I'm so glad I opted to rework that area. |

I put everything on the floor to take a look at the placement.
I took the border diamonds back off.
At this moment I'm thinking abut ditching the border with the diamonds. I think I like the quilt without the clutter of those extra diamonds. The quilt like this would measure approximately 66"x 80" when finished.
What do you think? I'd like to hear from you.
Thanks!
April 15, 2014
My quilt has a name!
AUTUMN BRILLIANCE!

I finished my quilt top this afternoon. I gave it a new name--Autumn Brilliance! I appliqued four Monarch butterflies to add magnificence. I can't wait for it to be quilted.
Some random close up pictures:


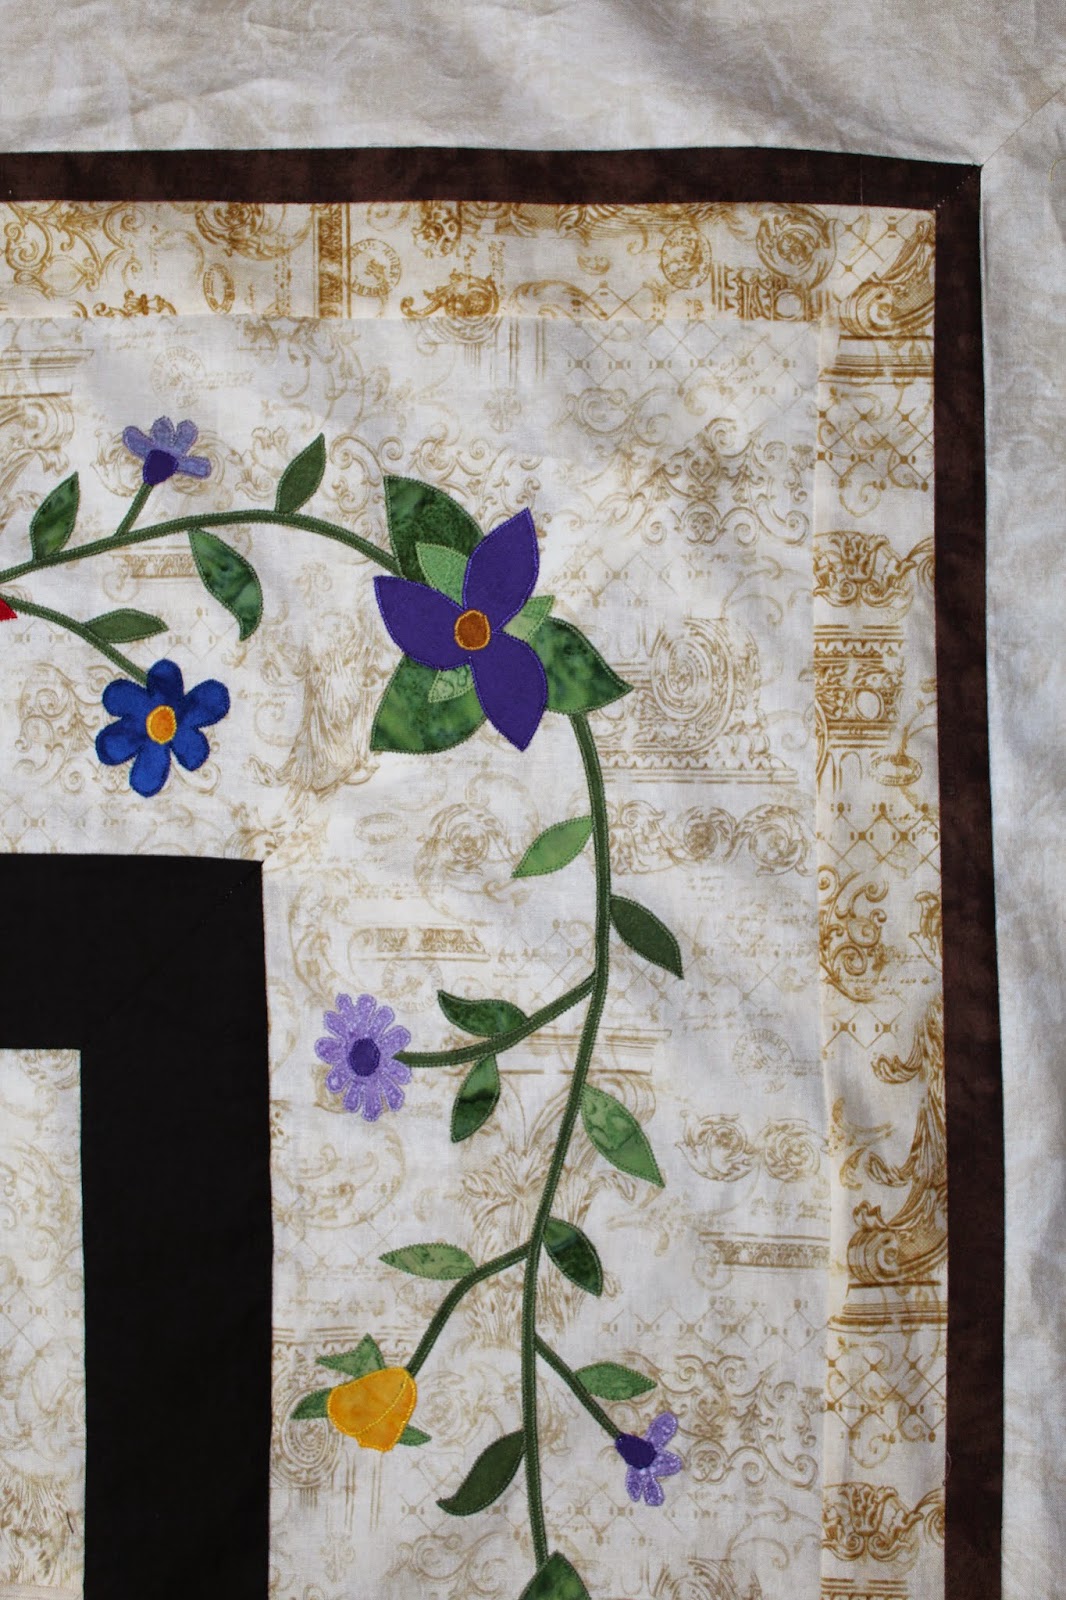
.JPG)

I'll get this to the quilter soon.
I think the fabric around the star is an excellent choice!
ReplyDeleteOh my gosh Judy! This quilt is awesome already!! I cannot wait to see this one in person. You are so talented!
ReplyDeleteThe butterflies are a beautiful addition! It's so neat to see how this one evolved!
ReplyDelete